| Location: Sydney (AUS) | Sunrise: 06:36 | Sunset: 17:08 | GMT +10 |
| Home
| Moon
| Monitor
| News
| About Me
| Site Map
| Guest Book
| 
Your browser did not load the style sheet and as a result the web page is not displaying correctly.
- Cause: You use a low speed connection or the Internet is slow at this time. Solution: Hit the Refresh Button of the browser.
- Cause: Your browser is not complying with the cascading style sheet used. Solution: Update your browser. We recommend Internet Explorer (IE) or FireFox.
 |
|
|
On August 2009 we purchased a townhouse off the plan. This is its story... |
|
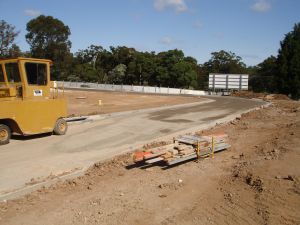 |
Photo date: 30/08/2009 10:47 AM Building the access roads together with all the other utilities: drainage, water, electricity, phone, gas, etc. |
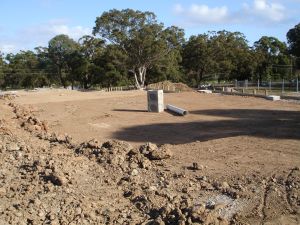 |
Photo date: 06/09/2009 09:17 AM Level and compacting the soil. |
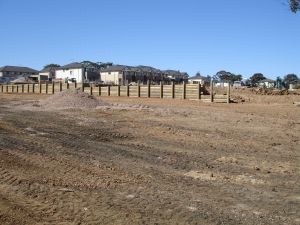 |
Photo date: 05/09/2009 10:40 AM Building the retention walls at the back of the property. |
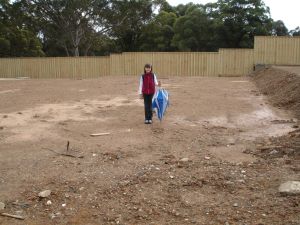 |
Photo date: 11/10/2009 10:30 AM Rising the backyard fence. |
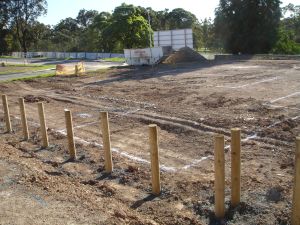 |
Photo date: 11/11/2009 05:22 PM Marking the home contour. Starting the construction of another retention wall. |
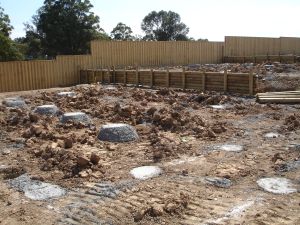 |
Photo date: 15/11/2009 10:00 AM A pier grid is created. This consists of holes drilled down into the soil and then filled with concrete. Later on, the slab is poured on top of the piers connecting the piers and the concrete slab.. |
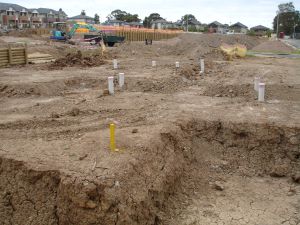 |
Photo date: 17/11/2009 05:27 PM The drainage plumbing is put into place under the slab site. |
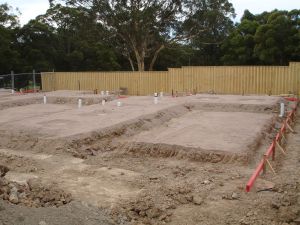 |
Photo date: 18/11/2009 05:10 PM Making the frame that borders the concrete slab and stops the concrete spreading. Fixing the formwork in place with pegs. |
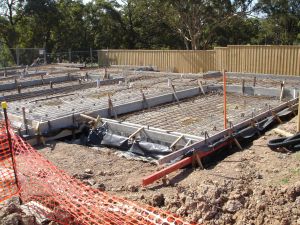 |
Photo date: 26/11/2009 04:13 PM A plastic sheet is placed under the slab form and the steel reinforcing is put into place. |
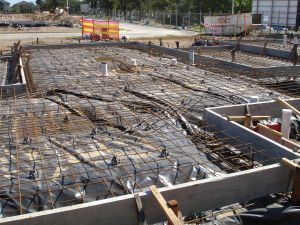 |
Photo date: 26/11/2009 04:14 PM The whole grid of steel reinforcement sitting on plastic chairs so the concrete can encase the steel when poured. |
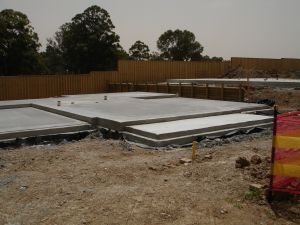 |
Photo date: 29/11/2009 11:33 AM The concrete is poured in the slab form, spread, then smoothed and flattened. This will produce the concrete slab. |
 |
Photo date: 26/11/2009 10:18 AM The rain water tank, which holds up to 3 cubic meters, is delivered. . |
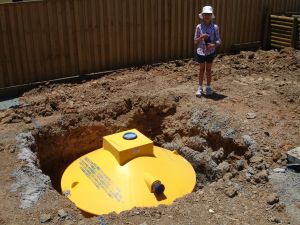 |
Photo date: 13/12/2009 01:03 PM The rain water tank is buried and later on will be connected to the rain water drainage. The rain water will be used for garden, toilets, and washing. |
.jpg) |
Photo date: 09/03/2010 12:49 PM The wooden frame at ground level is raised. |
.jpg) |
Photo date: 21/03/2010 05:39 PM Wooden frame for the first floor is completed. |
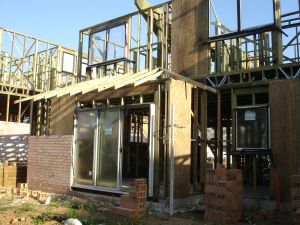 |
Photo date: 25/03/2010 05:39 PM Start of the brick work. |
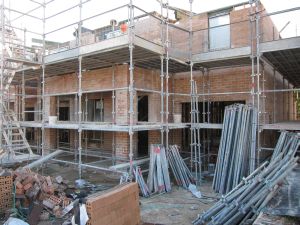 |
Photo date: 06/05/2010 04:19 PM Completion of the brick work. |
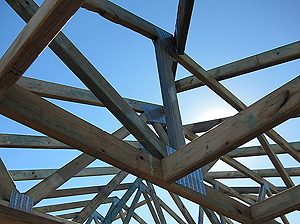 |
Photo date: 09/05/2010 12:19 PM Attic frame is finished. |
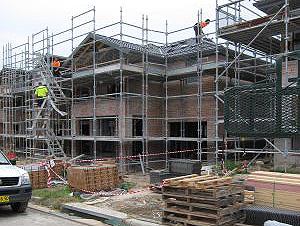 |
Photo date: 17/05/2010 01:10 PM Roof tiling. |
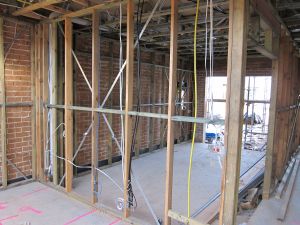 |
Photo date: 01/06/2010 04:03 PM Electric wires and pipes are installed. |
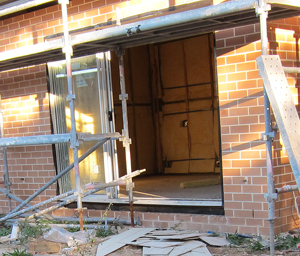 |
Photo date: 20/06/2010 05:39 PM The walls are insulated. |
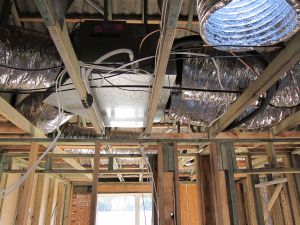 |
Photo date: 28/06/2010 15:39 PM Installation of the ducted air conditioning. |
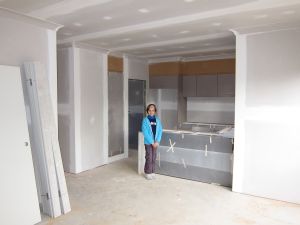 |
Photo date: 11/07/2010 09:48 AM Plaster work. |
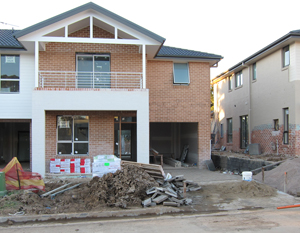 |
Photo date: 15/07/2010 04:34 PM Garage driveway is paved. |
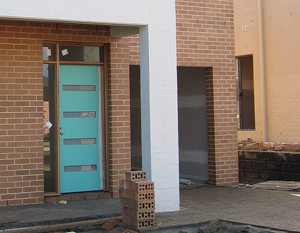 |
Photo date: 25/07/2010 10:14 AM Main entrance door is installed. |
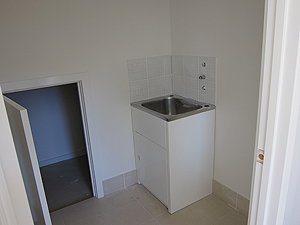 |
Photo date: 01/08/2010 12:43 PM Internal laundry sink is put in place. |
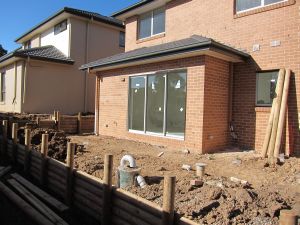 |
Photo date: 08/08/2010 09:57 AM Backyard retention wall is constructed. |
 |
Photo date: 08/08/2010 09:56 AM Garage door is installed. |
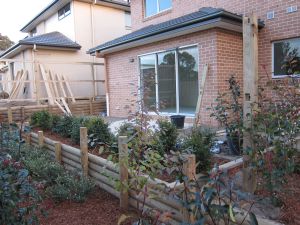 |
Photo date: 26/08/2010 05:16 PM Backyard landscape. |
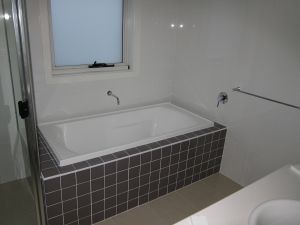 |
Photo date: 26/08/2010 05:17 PM Main bathroom. |
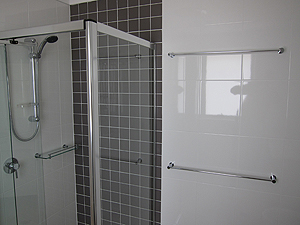 |
Photo date: 26/08/2010 05:19 PM En suite bathroom. |
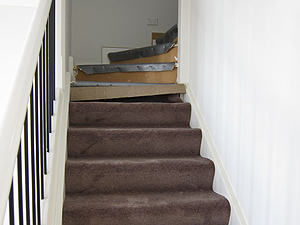 |
Photo date: 07/09/2010 12:39 PM Carpet work. |
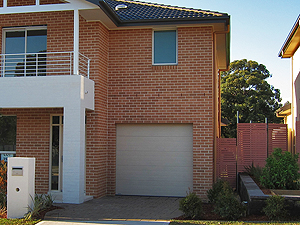 |
Photo date: 08/09/2010 05:39 PM Front gate is installed. |
 |
Photo date: 08/09/2010 05:39 PM The backyard. |
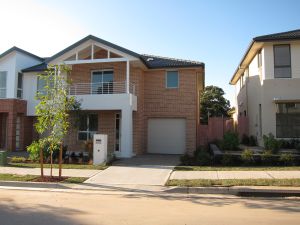 |
Photo date: 08/09/2010 05:39 PM The home. |
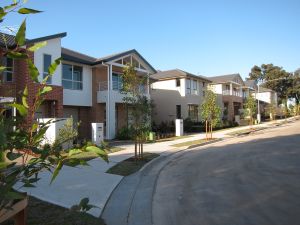 |
Photo date: 08/09/2010 05:39 PM The street. |
Designed by Gabriel Ditu ©Copyright 2024 - All Rights Reserved |
|